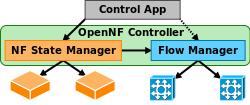
Tutorial
These instructions demonstrate how to use OpenNF to quickly and
safely move an active TCP flow from one network function (NF) to
another. These instructions were developed using Ubuntu 14.04.1 (LTS)
64-bit, but they should work on any Linux distribution with a few modifications.
1. Install dependencies
- Install dependencies for the controller, shared library for NFs, and
tutorial:
sudo apt-get install git tcpreplay mininet ant oracle-java8-installer gcc make wget
You will need to add
the WebUpd8 repository to install Oracle Java using apt. If you
prefer, you can install
Mininet from source.
- A controller (openvswitch-controller) that interferes
with the OpenNF controller is automatically installed and started when
Mininet is installed. Stop this service:
sudo service openvswitch-controller stop
- Stop the network-manager service if it is running on your
system:
sudo service network-manager stop
Any active network managers will interfere with Mininet.
- Manually install json-c. You may need to
install other dependencies via apt.
- Install dependencies for the network function used in the tutorial,
PRADS:
sudo apt-get install libpcre3-dev libpcap-dev python-docutils
2. Download code for the SDN controller and network functions
- Create a directory called
tutorial:
mkdir tutorial
- Download and untar the code for Floodlight
0.90 in the
tutorial directory:
cd tutorial
wget http://floodlight-download.projectfloodlight.org/files/floodlight-source-0.90.tar.gz
tar xzvf floodlight-source-0.90.tar.gz
- Clone the code for PRADS into the
tutorial
directory:
git clone https://github.com/gamelinux/prads.git
cd prads
git checkout 930ff5
3. Download the OpenNF code
Please fill out
our request form to obtain access to the code.
4. Compile the network function
5. Compile the controller
- To tell Floodlight about the existence of the OpenNF controller and
application modules, you need to modify Floodlight's module list file
net.floodlightcontroller.core.module.IFloodlightModule in
the directory
tutorial/floodlight/src/main/resources/META-INF/services/.
You should add the following lines:
edu.wisc.cs.wisdom.sdmbn.core.SdmbnManager
edu.wisc.cs.wisdom.sdmbn.apps.testing.TestTimedMoveAll
- Compile Floodlight:
cd tutorial/floodlight/
ant
- Symlink the Floodlight JAR file into the libraries for the controller:
cd tutorial/controller/lib/
ln -s ../../floodlight-0.90/target/floodlight.jar
- Download the GSON
Jar file into
tutorial/controller/lib/.
- Compile the controller:
cd tutorial/controller/
ant
- Compile the applications:
cd tutorial/apps/
ant
6. Configure the demo
- Update some of the configuration lines in the controller
configuration at
tutorial/apps/testTimedMoveAll.prop to the
appropriate values:
net.floodlightcontroller.core.FloodlightProvider.openflowport = 6633
edu.wisc.cs.wisdom.sdmbn.core.SdmbnManager.stateport = 7790
edu.wisc.cs.wisdom.sdmbn.core.SdmbnManager.eventport = 7791
edu.wisc.cs.wisdom.sdmbn.apps.testing.TestTimedMoveAll.TraceReplaySwitchPort = 1
edu.wisc.cs.wisdom.sdmbn.apps.testing.TestTimedMoveAll.TraceReplayHost = 192.168.0.1
edu.wisc.cs.wisdom.sdmbn.apps.testing.TestTimedMoveAll.TraceReplayFile = youtube.pcap
- We need to generate a large packet capture file which we can replay.
An easy way to do this is to start watching a video in YouTube. Run the
following commands:
cd tutorial/apps
tcpdump -i <your active interface, i.e. eth0> -c 25000 -w
youtube.pcap tcp
It is important that the packet capture only contains IPv4 TCP packets
(no IPv6, UDP, or ICMP).
- Update some of the configuration lines in the shared library for NFs
configuration file at
/usr/local/etc/sdmbn.conf to the
appropriate values:
ctrl_ip = 192.168.0.254
If you installed the shared library for NFs in a different location, then
use that path to the configuration file instead.
7. Run the demo
- In one terminal window, start the controller application:
cd tutorial/apps/
java -jar SDMBNapps.jar -cf testTimedMoveAll.prop
- In another terminal window, start the Mininet network:
cd tutorial/
sudo python tutorial_topo.py
- Once you start the Mininet network, you should notice some
activity in the controller window as the OpenFlow switch connects to the
controller. Wait for the switch to connect before proceeding.
- From the mininet window, open an xterm window for three hosts:
mininet> xterm h1 h2 h3
- In the h1 xterm window, start the traceload server:
cd tutorial/apps/
bash scripts/traceload_server.sh h1-eth0 . 192.168.0.1 8080
- In the h2 xterm window, start PRADS:
prads -i h2-eth0
- In the h3 xterm window, start PRADS:
prads -i h3-eth0
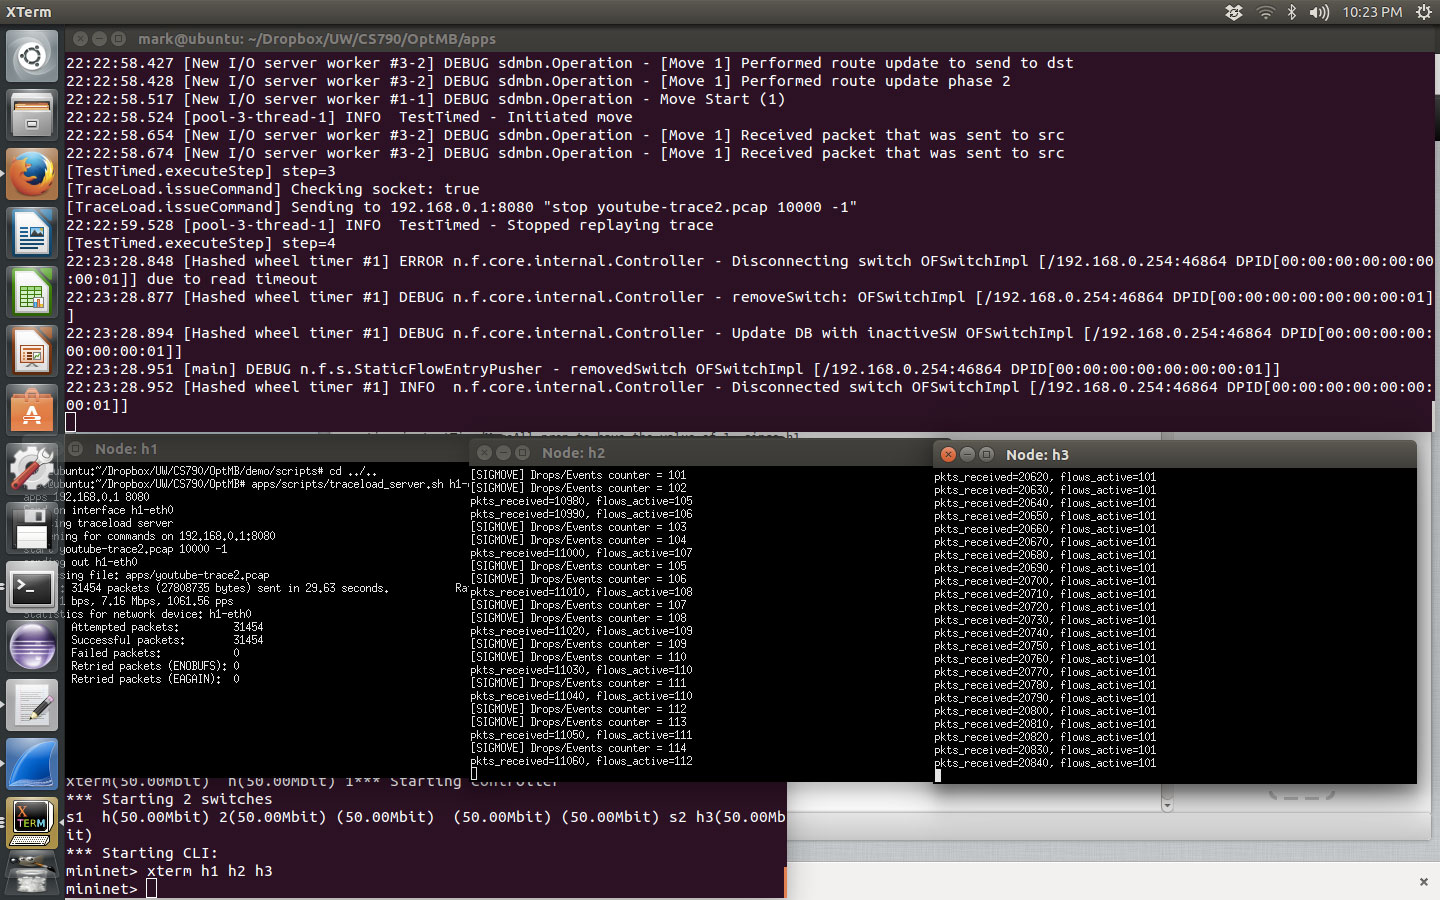
- At this point, assuming everything is running correctly, you will see
the following sequence of events:
- The controller window acknowledges the PRADS connections from h2
and h3
- The controller sends a command to start the trace replay on
h1
- On h1, the traceload server starts replaying packets, and the
PRADS instance on h2 has a burst of activity as packets start coming
in
- A few seconds later, the controller initiates a move
- The activity on h2 stops and then picks up again on h3
- When the packet file finishes replaying, the pkts_received
values in h2 and h3 should add up roughly to the total number of
packets indicated in h1
- At the end of the demo, your screen should look something like this:


